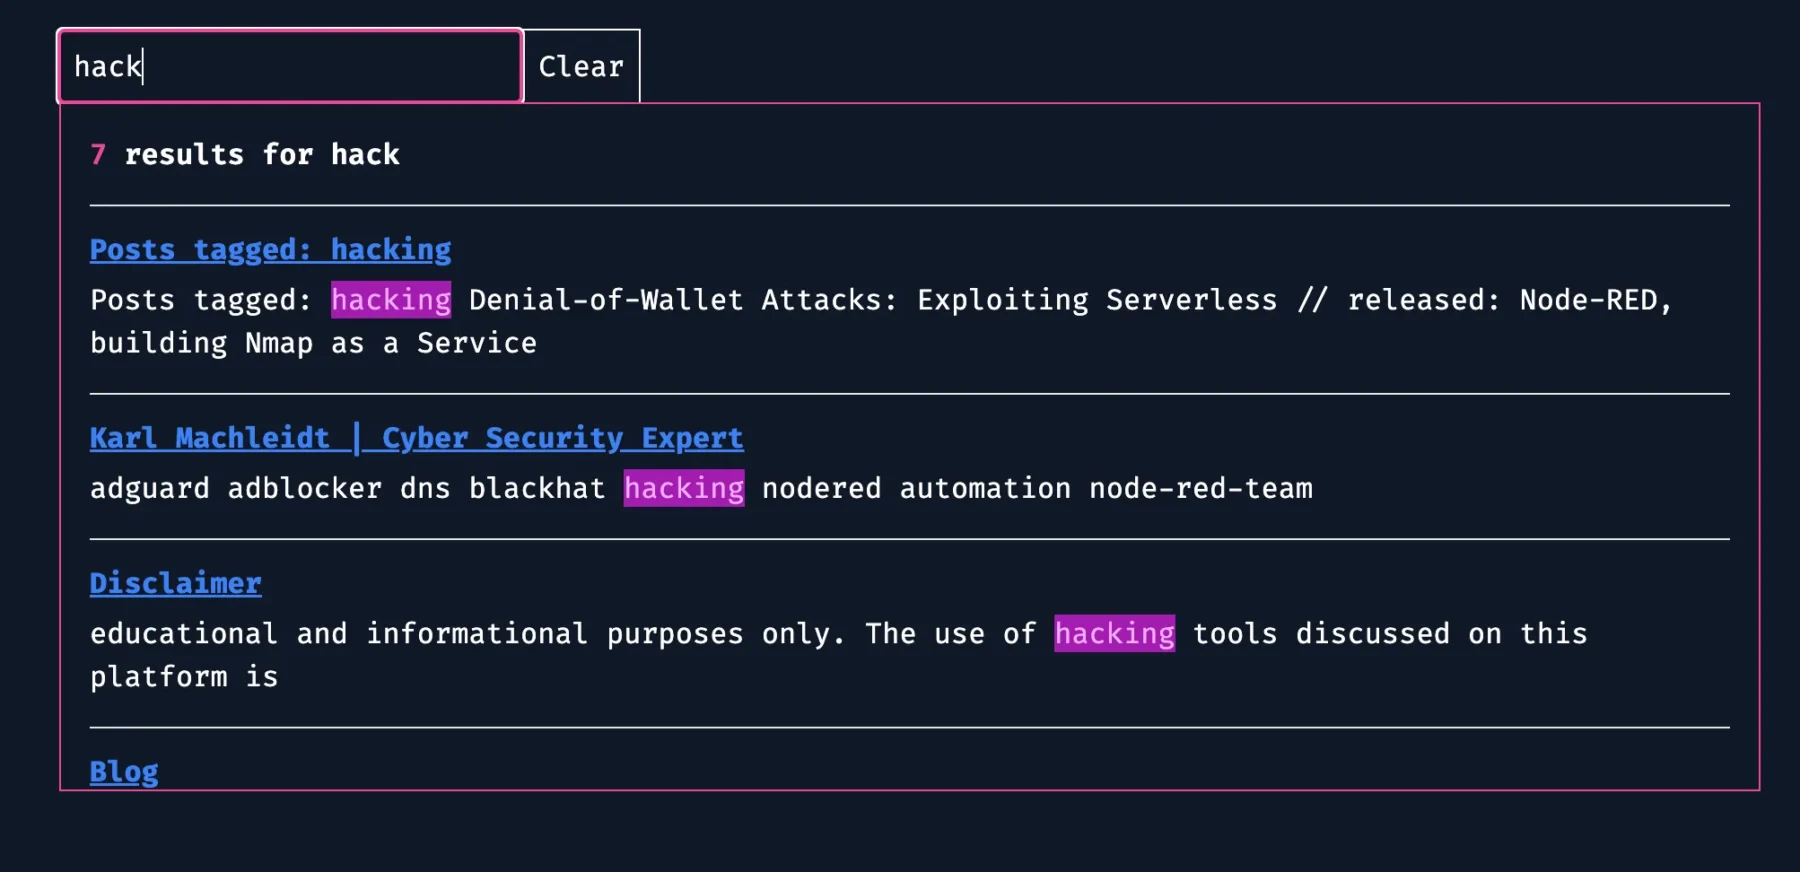
Disclaimer:
The information provided on this blog is for educational purposes only. The use of hacking tools discussed here is at your own risk.
For the full disclaimer, please click here.
Introduction
In the fast-paced world of cyber warfare, attackers are always on the hunt for new ways to hit where it hurts – both in the virtual world and the wallet. The latest trend? Denial-of-Wallet (DoW) attacks, a crafty scheme aimed at draining the bank accounts of unsuspecting victims.
I am assuming you know what serverless is. Otherwise read this first: What is serverless computing?
Attack Surface
Serverless setups, touted for their flexibility and scalability, have become prime targets for these digital bandits. But fear not! Here’s your crash course in safeguarding your virtual vaults from these costly exploits.
What’s a DoW attack, anyway?
Think of it as the mischievous cousin of the traditional denial-of-service (DoS) onslaught. While DoS attacks aim to knock services offline, DoW attacks have a more sinister agenda: draining your bank account faster than you can say “cloud computing.”
Unlike their DDoS counterparts, DoW attacks zero in on serverless systems, where users pay for resources consumed by their applications. This means that a flood of malicious traffic could leave you with a bill so hefty, it’d make Scrooge McDuck blush.
But wait, there’s more!
With serverless computing, you’re not just outsourcing servers – you’re also outsourcing security concerns. If your cloud provider drops the ball on protection, you could be facing a whole buffet of cyber threats, not just DoW attacks.
Detecting & Protecting
Now, spotting a DoW attack isn’t as easy as checking your bank statement. Sure, a sudden spike in charges might raise eyebrows, but by then, the damage is done. Instead, take proactive measures like setting up billing alerts and imposing limits on resource usage. It’s like putting a lock on your wallet before heading into a crowded marketplace.
And let’s not forget about securing those precious credentials. If an attacker gains access to your cloud kingdom, they could wreak havoc beyond just draining your funds – we’re talking file deletions, instance terminations, the whole nine yards. So buckle up with least privilege services, multi-factor authentication, and service control policies to fortify your defenses.
In the arms race between cyber crooks and cloud defenders, staying one step ahead is key. So, arm yourself with knowledge, fortify your defenses, and may your cloud budgets remain forever full!
How to Attack
This is what you came here for, isn’t it ? Before I go on I would like to remind you of my Disclaimer.
Cloudflare
First of all, big shoutout to Cloudflare for actually providing a valuable free tier of services (they do not pay me or anything, I actually like them a lot).
Basically, they provide serverless functions called “Cloudflare Workers”, their endpoints usually look like this: worker-blah-blah-1337.blah.workers.dev You can also choose your own custom domain, but the default route is still enabled. I recommend you disable it, or else…well stay tuned.
Here is their own billing example (Source):
| Monthly Costs | Formula |
|---|---|
| Subscription | $5.00 |
| Requests | $27.00 (100,000,000 requests – 10,000,000 included requests) / 1,000,000 _ $0.30 |
| CPU time | $13.40 (7 ms of CPU time per request _ 100,000,000 requests – 30,000,000 included CPU ms) / 1,000,000 * $0.02 |
| Total | $45.40 |
They actually mention denial-of-wallet attacks and how you can counter them, or at least lessen the impact.
Finding Cloudflare Workers
One of the easiest ways to find endpoints is GitHub using a simple query like this: ?q=workers.dev&type=code or using ?q=workers.dev&type=commits. As I am writign this I found 121.000 lines of code that include workers.dev, let us maybe subtract some duplicates and maybe you end up with 20.000, some of them actually being pretty big companies as well.
Next easy find is using some Google hacking: site:workers.dev returning 2.230.000 results (some being duplicates).
Attacking Cloudflare Workers (hypothetically)
Using a tool like Plow, HTTP(S) benchmarking tool can do about 1.000.000 requeests per 10 seconds on a normal machine using 20 connections. Playing around with these you can probably get a lot more, but it depends on a lot of factores like bandwidth and internet speed etc. So in theory you could cost your target $120 per hour from your home PC/Laptop. If you got 3 of your friends involved you could cost your target almost $500 per hour. Since you are running a script 24/7 that’s costing your target $12000 day or $84000 a week. Now if your’re attacking an enterprise that may not even be that bad for them, but imagine a small company paying 12k every day. As I explained above, there is also no going back, that compute is consumed and will be charged. Depending on if they use something like KV and other services you can multiply these numbers. A pretty common pattern is to have one Worker act as an API gateway, so one request could actually trigger up to 50/100 sub-requests.
If, by just reading this, you feel bad, then congrats 🎉, you are probably one of the good guys, girls or anything in between.
Back to reality
Cloudflare being Cloudflare, they obviously have pretty good protections as is, in my experience better than AWS or Azure. So simply a running tool and hoping for carnage will not get you far.
Some additional protections Cloudflare provides are:
- Setting a CPU limit
- Using rate limit rule
- Using their WAF with other rules
- Page Rules (although WAF rules are better/newer)
Being able to do all this easily for free, including their free DDoS protection should build up a nice barrier against such attacks. Looking at the bigger pricture, it is actually crazy that this can all be done for free, on AWS you would have to pay extra for all of these features and essentially denial-of-wallet yourself (😁).
Any protection is only good, if it is enabled and configured correctly. I am using the following WAF rule for example:
(not http.user_agent contains "Mozilla/5.0")This basically blocks everything that is not advertising itself as a browser. If you know a little tiny bit about how User Agents work, you know that getting around this rule is super simple. You would just need to write a script like this:
import requests

url = 'SOME PROTECTED URL'

headers = {
    'User-Agent': 'Mozilla/5.0 (Macintosh; Intel Mac OS X 10_15_7) AppleWebKit/537.36 (KHTML, like Gecko) Chrome/122.0.0.0 Safari/537.36',
}

# run 100 million requests with a timeout of one second
for i in range(1, 100000000):
    requests.get(url, timeout=1, headers=headers)
Now my simple filter rule thinks it is a browser and will let it through.
Check out my 24h WAF statistic:

As you can see most of the bots and scripts are blocked by this stupid simple rule. I am not showing you the rest of the rules, because I am literally explaining to you how you could get around my defenses, usually not a great idea on a post tagged #blackhat.
Real world attack
In a real world attack you will need residential proxies or multiple IPs with high rep. You then write a more advanced tool that autoamtes a browser, otherwise you will be detetcted very quickly. Even better if you use something like undetected_chromedriverfor more success.
Obviously you also want to add random waits, a script being run every second will light up like a christmas tree:
from random import randint
from time import sleep

sleep(randint(0,5))
(You could just send as many requests as you want and have your hardware or internet connection add “organic” random waits, this will ultimatley lead to getting you blocked because of too many too fast requests)
You will need more machines with more residential IPs, as this will be a lot slower. You will slwoly drain your targets wallet this way though. I mean in the end you could have this running on something like a Raspberry Pi costing you next to nothing in electricity and just slowly attacking your target, depending on their setup each single request from your side could be 50 on theirs.
One other cool trick, which is actually still possbile, is to hijack WordPress websites that have xmlrpc.php enabled. This is called XML-RPC Pingback Attack and is as simple as:
curl -D - "www.vuln-wordpress.com/xmlrpc.php" \
     -d '<methodCall>
            <methodName>pingback.ping</methodName>
            <params>
              <param>
                <value>
                  <string>[TARGET HOST]</string>
                </value>
              </param>
              <param>
                <value>
                  <string>www.vuln-wordpress.com/postchosen</string>
                </value>
              </param>
            </params>
          </methodCall>'
Summary
As this post is getting longer I decided to end it here. These attacks work on any cloud based “serverless” provider that bills by usage. The key idea is to use as much of a companies “billed by usage” endpoints as possible.
In theory this can do a lot of damage, in practice you will have to do a little more than just send a billion request, as fast as possible with some script, to an endpoint. I highlighted some ways to get around protections above, but you will most likely have to come up with your own new/custom solution in order to outsmart your target.
Why Cloudflare ?
I picked Cloudflare as an example, because I use them for everything and really like them. (Again, I am not paid to say this, I actually like them). This attack works on any other provider as well, actually it will probably work the least on Cloudflare, because of their free DDoS protection.
Compared to AWS WAF the firewall alone would cost as much as the usage of Cloudflare Workers, so actually getting through the AWS WAF and then using a Lambda function, maybe even one that is reading some data from S3 would be disasterous.