Introduction
In today’s digital age, the internet is saturated with advertisements and trackers, leading to slower browsing speeds and potential security threats. To combat these issues, leveraging AdGuard Home as a central ad blocker provides several key benefits, such as improved security and faster internet speeds. While browser plugins like “uBlock Origin” offer protection for individual devices within specific browsers, they fall short in safeguarding all devices, particularly those without browser support, such as IoT devices.
Enhanced Security
AdGuard Home blocks intrusive ads and potentially harmful websites before they even reach your devices. By filtering out malicious content, AdGuard Home significantly reduces the risk of malware infections and phishing attacks, safeguarding your personal information and sensitive data.
Protecting Privacy
Ads often come bundled with tracking scripts that monitor your online behavior, compromising your privacy. With AdGuard Home, you can prevent these trackers from collecting your data, preserving your anonymity and preventing targeted advertising based on your browsing habits.
Faster Internet Speeds
Advertisements consume valuable bandwidth and resources, leading to slower loading times and sluggish internet performance. By eliminating ads and unnecessary tracking requests, AdGuard Home helps optimize your network’s efficiency, resulting in faster page loading speeds and smoother browsing experiences.
Open-Source and Transparent
AdGuard Home is open-source software, meaning its source code is freely available for scrutiny and verification by the community. This transparency fosters trust and ensures that the software operates with integrity, free from hidden agendas or backdoors.
Hosting AdGuard Home
Now that you understand why you would want a central adblocker in your home network let’s get started in setting it up.
First you need to decide if you want to host locally or in the cloud.
Hosting locally:
Benefits:
- easier setup
- more secure
- private
Drawbacks:
- need a server
Cloud hosting:
Benefits:
- no local server
- better uptime
Drawbacks:
- more setup for same privacy and security
Since DNS is not encrypted, like HTTPS for example, the cloud provider will most likely be able to see you DNS queries. You will need to use DNS-over-TLS or DNS-over-HTTPS. In a home network it is usually okay to use regular DNS, because AdGuard Home itself uses DNS-over-*S resolvers to get the final address. An example of Cloudflare’s resolvers
https://dns.cloudflare.com/dns-query
tls://1dot1dot1dot1.cloudflare-dns.com
https://security.cloudflare-dns.com/dns-query
tls://security.cloudflare-dns.com
the regular DNS server would be 1.1.1.1
Local Setup
Depending on your setup, you might already have a server, Home Assistant, pfSesne firewall or nothing at all. I am going to assume you do not have any of the above. So first of all you will need to repuporse an old PC or somethign like a Raspberry Pi (which i highly recommend, i own 7).
I have personally run AdGuard Home in a reasoably sized home network on a Raspberry Pi Zero W. I recommend a bigger one, but if you’re on a really tight budget, that is probably your best bet.
Once you have a machine and it is running a Linux distribution of your choice, you now can install AdGuard Home either in a Container or directly.
Adguard already has a pretty good documentation you can find here, i will shortly show you the 2 options:
Docker
Firstly you need to install Docker. Once you did this, all that is left to do is basically just run:
docker run --name adguardhome\
    --restart unless-stopped\
    -v ./work:/opt/adguardhome/work\
    -v ./conf:/opt/adguardhome/conf\
    -p 53:53/tcp -p 53:53/udp\
    -p 67:67/udp -p 68:68/udp\
    -p 80:80/tcp -p 443:443/tcp -p 443:443/udp -p 3000:3000/tcp\
    -p 853:853/tcp\
    -p 784:784/udp -p 853:853/udp -p 8853:8853/udp\
    -p 5443:5443/tcp -p 5443:5443/udp\
    -d adguard/adguardhome
and that is it. Now you can go to http://[YOUR-IP]:3000 and follow the steps.
Direct
Installing directly is just as simple:
curl -s -S -L https://raw.githubusercontent.com/AdguardTeam/AdGuardHome/master/scripts/install.sh | sh -s -- -vThat is it. You might have to copy the start command which will be shown in your terminal before you can set up your AdGuard in the browser.
Web UI
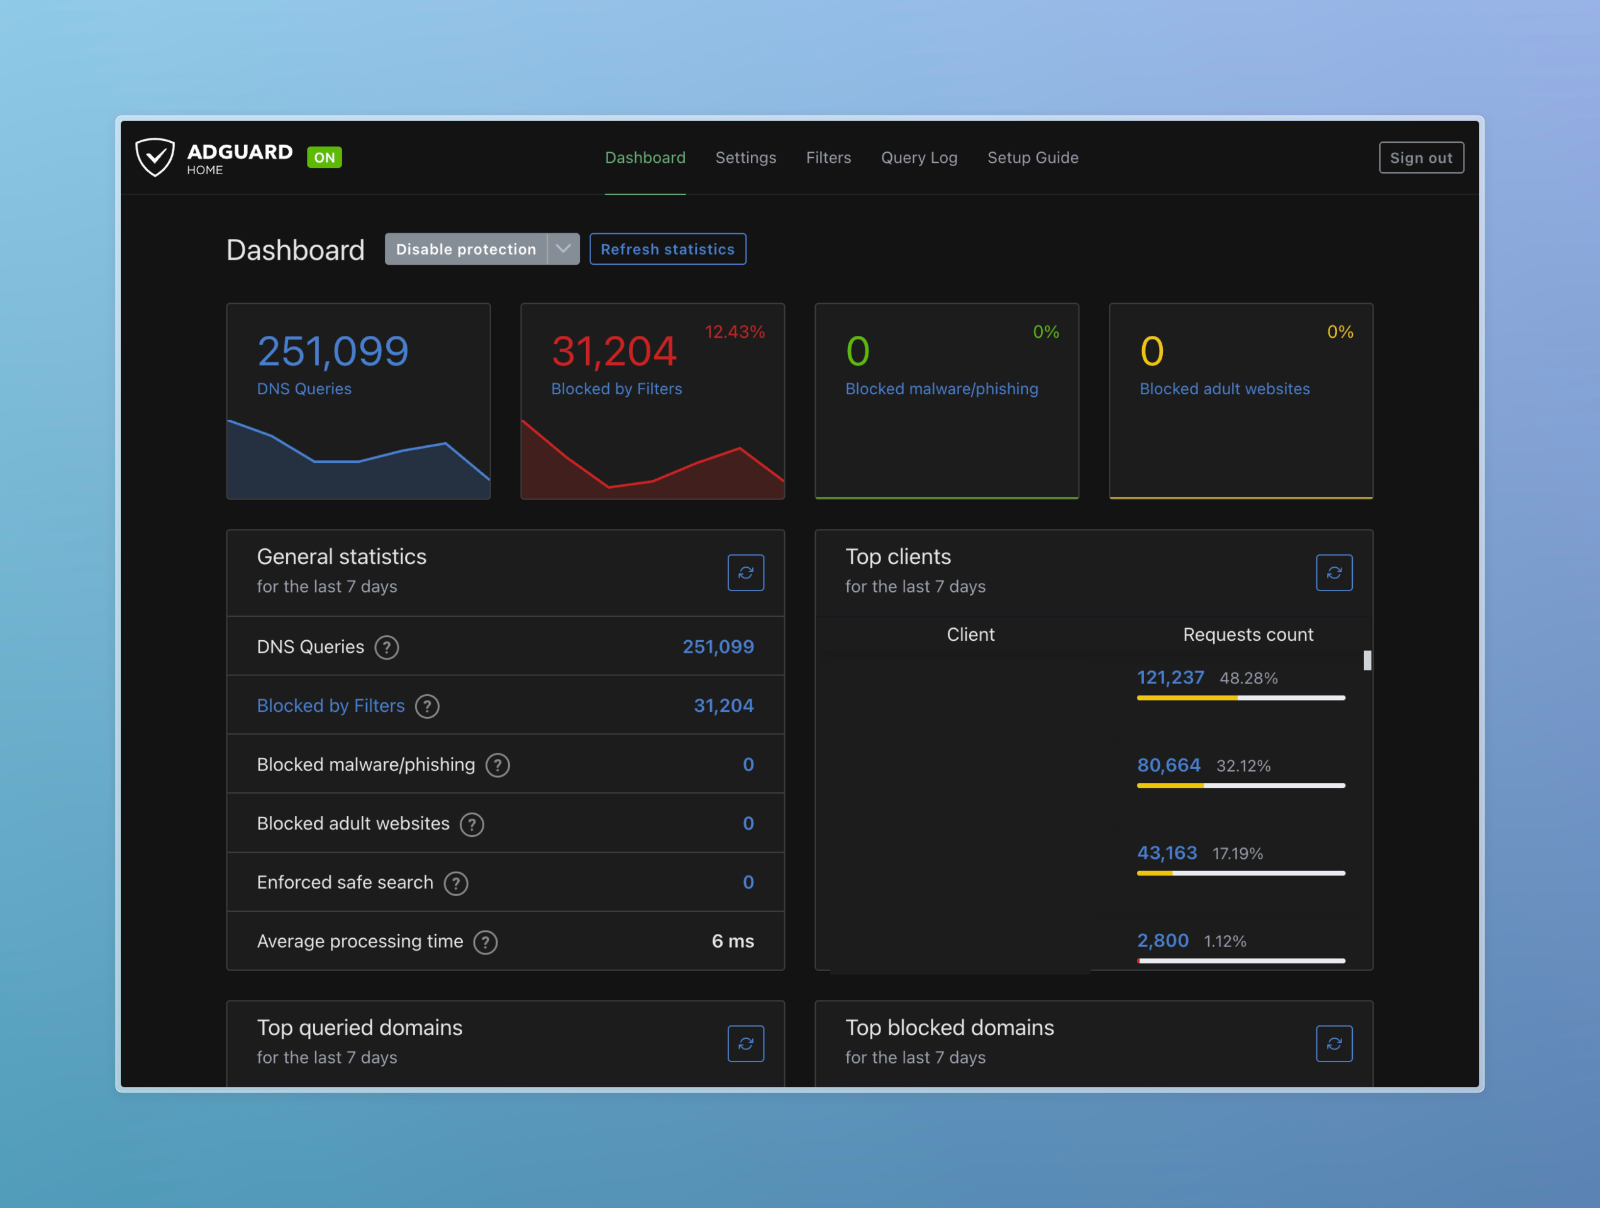
The steps for AdGuard in the Web UI are self explanatory so I did not go into detail here. You are basically good to go. I recommend 2 things:
Go to Filters > DNS blocklists, then click on “Add blocklist” and select every Security list. I have also enabled all the “General” blocklists and not trouble.
Go to Settings > DNS settings, I have the following upstream DNS server:
quic://dns.adguard-dns.com
# SWITCH
https://dns.switch.ch/dns-query
tls://dns.switch.ch
# quad9
tls://dns.quad9.net
# cloudflare
https://dns.cloudflare.com/dns-query
tls://1dot1dot1dot1.cloudflare-dns.com
https://security.cloudflare-dns.com/dns-query
tls://security.cloudflare-dns.com
Router Configuration
I think most of the readers will have a Fritz!Box so this is what I will show here. The setup is probably very similar on your router. You basically just have to edit the DNS server settings in your router.
Fritz!Box
 I did not show you my DNS Server IP by mistake. Scroll to the end to find out why.
 9.9.9.9 is the Quad9 DNS Server, I use this in case my AdGuard goes down, otherwise I would not be able to browse the web.
Bonus
You are welcome to use my public AdGuard Home instance at 130.61.74.147, just enter it into your router. Please be advised that i will be able to see you DNS logs, which means I would know what you do on the internet… I do not care to be honest so you are free to make your own choice here.