As you may or may not know (but now totally do), I have another beloved website, Exploit.to. It’s where I let my inner coder run wild and build all sorts of web-only tools. I’ll save those goodies for another project post, but today, we’re talking about my Mail Parser—a little labor of love born from frustration and an overdose of caffeine.
See, as a Security Analyst and incident responder, emails are my bread and butter. Or maybe my curse. Parsing email headers manually? It’s a one-way ticket to losing your sanity. And if you’ve ever dealt with email headers, you know they’re basically the Wild West—nobody follows the rules, everyone’s just slapping on whatever they feel like, and chaos reigns supreme.
The real kicker? Every single EML parser out there at the time was server-side. Let me paint you a picture: you, in good faith, upload that super-sensitive email from your mom (the one where she tells you your laundry’s done and ready for pick-up) to some rando’s sketchy server. Who knows what they’re doing with your mom’s loving words? Selling them? Training an AI to perfect the art of passive-aggressive reminders? The horror!
So, I thought, “Hey, wouldn’t it be nice if we had a front-end-only EML parser? One that doesn’t send your personal business to anyone else’s server?” Easy peasy, right? Wrong. Oh, how wrong I was. But I did it anyway.
You can find the Mail Parser here and finally parse those rogue headers in peace. You’re welcome.
Technologies
- React: Handles the user interface and dynamic interactions.
- Astro.js: Used to generate the static website efficiently. (technically not needed for this project)
- TailwindCSS: For modern and responsive design.
- ProtonMail’s jsmimeparser: The core library for parsing email headers.
When I first approached this project, I tried handling email header parsing manually with regular expressions. It didn’t take long to realize how complex email headers have become, with an almost infinite variety of formats, edge cases, and inconsistencies. Regex simply wasn’t cutting it.
That’s when I discovered ProtonMail’s jsmimeparser, a library purpose-built for handling email parsing. It saved me from drowning in parsing logic and ensured the project met its functional goals.
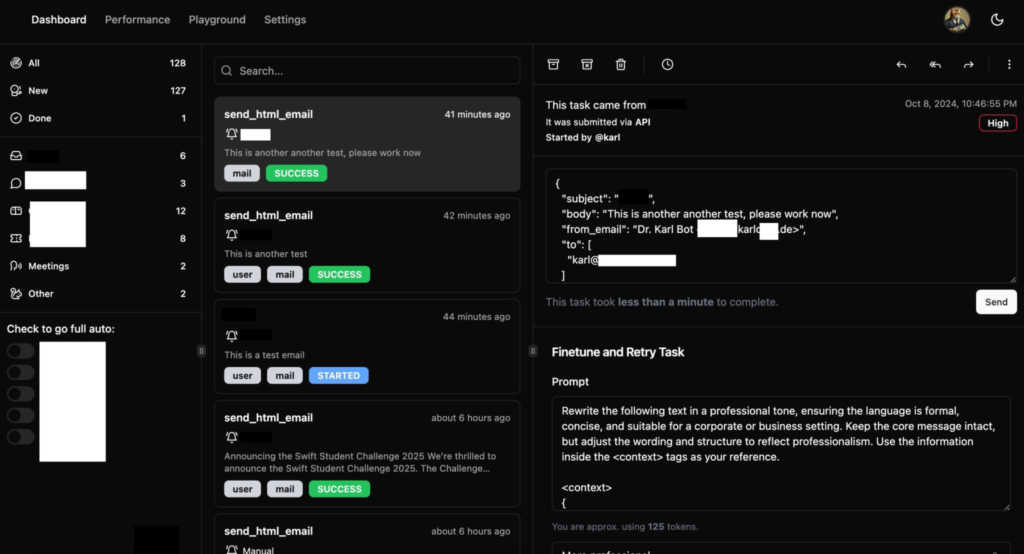
Sharing the output of this tool without accidentally spilling personal info all over the place is kinda tricky. But hey, I gave it a shot with a simple empty email I sent to myself:

The Code
As tradition dictates, the code isn’t on GitHub but shared right here in a blog post 😁.
Kidding (sort of). The repo is private, but no gatekeeping here—here’s the code:
import React, { useState } from "react";
import { parseMail } from "@protontech/jsmimeparser";
type Headers = {
[key: string]: string[];
};
const MailParse: React.FC = () => {
const [headerData, setHeaderData] = useState<Headers>({});
const [ioc, setIoc] = useState<any>({});
function extractEntitiesFromEml(emlContent: string) {
const ipRegex =
/\b(?:\d{1,3}\.){3}\d{1,3}\b|\b(?:[0-9a-fA-F]{1,4}:){7}[0-9a-fA-F]{1,4}\b/g;
const emailRegex = /\b[A-Za-z0-9._%+-]+@[A-Za-z0-9.-]+\.[A-Z|a-z]{2,}\b/g;
const urlRegex = /(?:https?|ftp):\/\/[^\s/$.?#].[^\s]*\b/g;
const htmlTagsRegex = /<[^>]*>/g; // Regex to match HTML tags
// Match IPs, emails, and URLs
const ips = Array.from(new Set(emlContent.match(ipRegex) || []));
const emails = Array.from(new Set(emlContent.match(emailRegex) || []));
const urls = Array.from(new Set(emlContent.match(urlRegex) || []));
// Remove HTML tags from emails and URLs
const cleanEmails = emails.map((email) => email.replace(htmlTagsRegex, ""));
const cleanUrls = urls.map((url) => url.replace(htmlTagsRegex, ""));
return {
ips,
emails: cleanEmails,
urls: cleanUrls,
};
}
function parseDKIMSignature(signature: string): Record<string, string> {
const signatureParts = signature.split(";").map((part) => part.trim());
const parsedSignature: Record<string, string> = {};
for (const part of signatureParts) {
const [key, value] = part.split("=");
parsedSignature[key.trim()] = value.trim();
}
return parsedSignature;
}
const handleFileChange = async (
event: React.ChangeEvent<HTMLInputElement>
) => {
const file = event.target.files?.[0];
if (!file) return;
const reader = new FileReader();
reader.onload = async (e) => {
const buffer = e.target?.result as ArrayBuffer;
// Convert the buffer to a string
const bufferArray = Array.from(new Uint8Array(buffer)); // Convert Uint8Array to number[]
const bufferString = String.fromCharCode.apply(null, bufferArray);
const { attachments, body, subject, from, to, date, headers, ...rest } =
parseMail(bufferString);
setIoc(extractEntitiesFromEml(bufferString));
setHeaderData(headers);
};
reader.readAsArrayBuffer(file);
};
return (
<>
<div className="p-4">
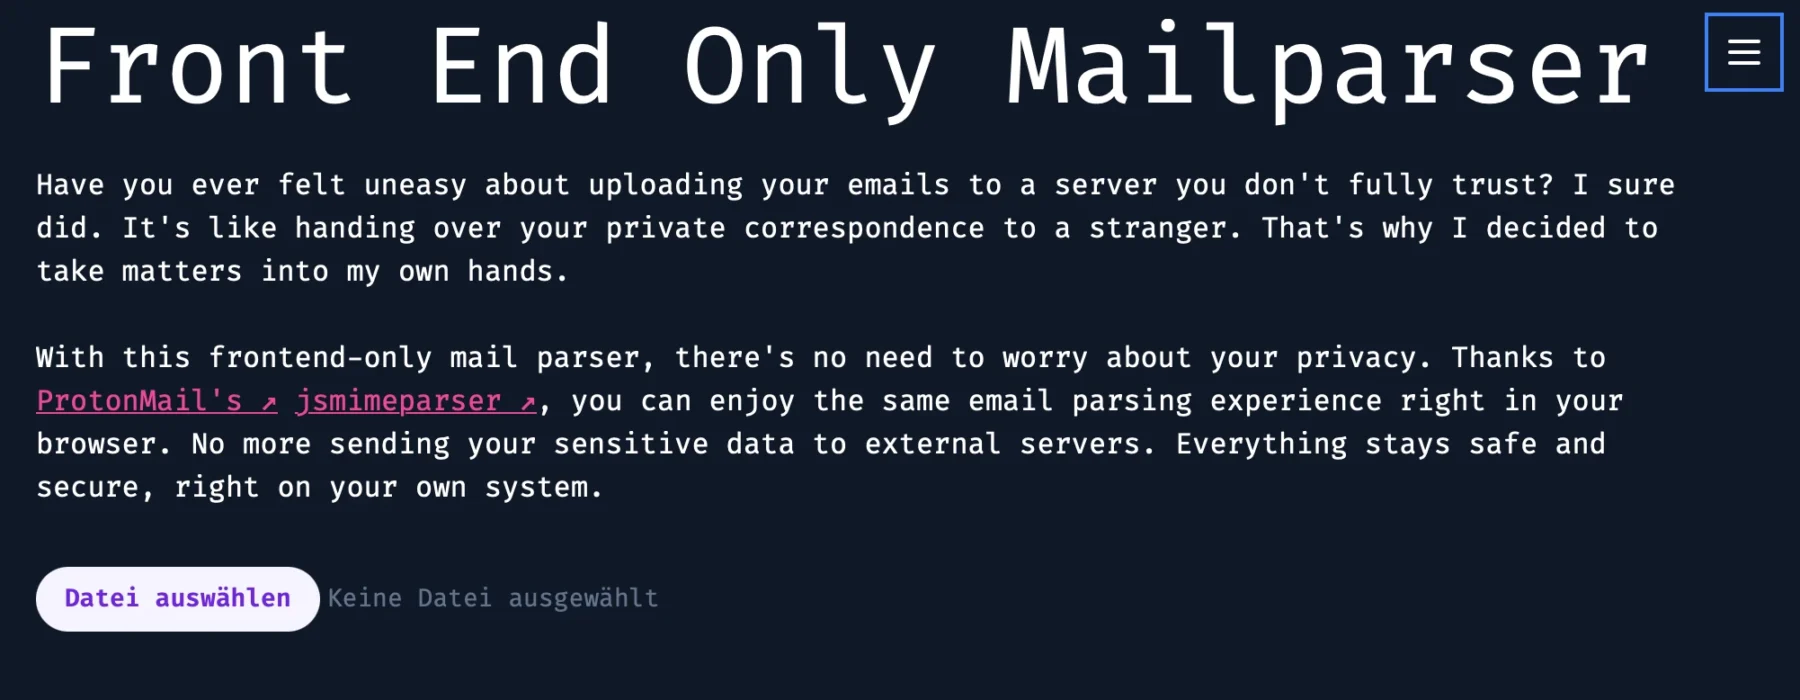
<h1>Front End Only Mailparser</h1>
<p className="my-6">
Have you ever felt uneasy about uploading your emails to a server you
don't fully trust? I sure did. It's like handing over your private
correspondence to a stranger. That's why I decided to take matters
into my own hands.
</p>
<p className="mb-8">
With this frontend-only mail parser, there's no need to worry about
your privacy. Thanks to{" "}
<a
href="https://proton.me/"
className="text-pink-500 underline dark:visited:text-gray-400 visited:text-gray-500 hover:font-bold after:content-['_↗']"
>
ProtonMail's
</a>{" "}
<a
className="text-pink-500 underline dark:visited:text-gray-400 visited:text-gray-500 hover:font-bold after:content-['_↗']"
href="https://github.com/ProtonMail/jsmimeparser"
>
jsmimeparser
</a>
, you can enjoy the same email parsing experience right in your
browser. No more sending your sensitive data to external servers.
Everything stays safe and secure, right on your own system.
</p>
<input
type="file"
onChange={handleFileChange}
className="block w-full text-sm text-slate-500
file:mr-4 file:py-2 file:px-4
file:rounded-full file:border-0
file:text-sm file:font-semibold
file:bg-violet-50 file:text-violet-700
hover:file:bg-violet-100
"
/>
{Object.keys(headerData).length !== 0 && (
<table className="mt-8">
<thead>
<tr className="border dark:border-white border-black">
<th>Header</th>
<th>Value</th>
</tr>
</thead>
<tbody>
{Object.entries(headerData).map(([key, value]) => (
<tr key={key} className="border dark:border-white border-black">
<td>{key}</td>
<td>{value}</td>
</tr>
))}
</tbody>
</table>
)}
</div>
{Object.keys(ioc).length > 0 && (
<div className="mt-8">
<h2>IPs:</h2>
<ul>
{ioc.ips && ioc.ips.map((ip, index) => <li key={index}>{ip}</li>)}
</ul>
<h2>Emails:</h2>
<ul>
{ioc.emails &&
ioc.emails.map((email, index) => <li key={index}>{email}</li>)}
</ul>
<h2>URLs:</h2>
<ul>
{ioc.urls &&
ioc.urls.map((url, index) => <li key={index}>{url}</li>)}
</ul>
</div>
)}
</>
);
};
export default MailParse;Yeah, I know, it looks kinda ugly as-is—but hey, slap it into VSCode and let the prettifier work its magic.
Most of the heavy lifting here is courtesy of the library I used. The rest is just some plain ol’ regex doing its thing—filtering for indicators in the email header and body to make life easier for further investigation.
Conclusion
Short and sweet—that’s the vibe here. Sometimes, less is more, right? Feel free to use this tool wherever you like—internally, on the internet, or even on a spaceship. You can also try it out anytime directly on my website.
Don’t trust me? Totally fair. Open the website, yank out your internet connection, and voilà—it still works offline. No sneaky data sent to my servers, pinky promise.
As for my Astro.js setup, I include the “mailparse.tsx” like this:
---
import BaseLayout from "../../layouts/BaseLayout.astro";
import Mailparse from "../../components/mailparse";
---

<BaseLayout>
  <Mailparse client:only="react" />
</BaseLayout>
See you on the next one. Love you, byeeeee ✌️😘