We’ve all been there. It’s 2:00 AM, you’re miles away from home trying to SSH into your homelab or access your Nextcloud instance, and you realize your ISP rotated your public IP address. No big deal, right? You check your free Dynamic DNS provider, only to find a devastating email buried in your spam folder:
“Your hostname has been deleted because you didn’t log into our ad-ridden dashboard and click a manual verification link inside a full moon while standing on one leg.“
Dynamic DNS shouldn’t feel like a part-time job.
Between aggressive premium upsells from commercial providers and the outright instability of some free alternatives, the self-hosting community has been left in a weird spot. If you want a “set-and-forget” setup under your own control, it’s time to meet KarlDNS. It’s a lightweight, self-hosted DynDNS service built for routers, homelabs, and infrastructure operators who want absolute control over their network edge without the typical platform headache.
(Or give me, Karl, some control 😘)
The Problem: Why Traditional DynDNS is an Architectural Trap
Most Dynamic DNS setups suffer from a critical flaw: they either force you into a commercialized third-party silo, or they require you to build an overly complex, over-engineered DNS infrastructure that takes more time to maintain than the apps it serves.
Ok yes, I may over exaggerate a little.. I am just jealous that Cloudflare-DDNS has so many more stars than me.
When designing KarlDNS, we wanted to eliminate three major pain points:
- The Over-Privileged API Token Problem: Most lightweight DynDNS scripts require you to hardcode an all-powerful Cloudflare or Route 53 global API key directly onto your home router or a random cron job. If that router gets compromised, an attacker inherits full read/write access to your entire domain registry.
- Account Fatigue: Users shouldn’t have to create a profile, verify an email, and manage passwords just to map a shifting WAN IP to a domain name.
- Bloated Infrastructure Dependencies: You do not need a multi-node Kubernetes cluster, a Redis caching tier, or a heavy PostgreSQL database engine just to translate a string into an IP address. That is structural overkill.
Enter KarlDNS: The Elegant CNAME Architecture
KarlDNS doesn’t try to be an all-encompassing DNS authoritative plane. It doesn’t handle your MX records, your email signatures, or your complex routing policies. Instead, it does one job flawlessly: it accepts an IP update from a client, validates it, and pushes that single update to a zone it explicitly controls.
My goal was to get you a DDNS Setup in 2 clicks.
To protect your root domains, KarlDNS relies on a clean CNAME delegation model:
[Your Custom Domain] -> home.yourdomain.com
       │
       ▼ (Standard CNAME Record)
[KarlDNS Target]     -> a1b2c3d4.karldns.de
       │
       ▼ (Dynamic A/AAAA Record via KarlDNS)
[Your Home Router]   -> 203.0.113.10 (Your changing WAN IP)
💡 The Trust Boundary Benefit: KarlDNS only directly manages the generated *.karldns.de subdomain target. You keep your root domain safe at your primary registrar. If KarlDNS goes offline or your self-hosted server reboots, your broader domain security configuration remains completely isolated and untouched.
The Lifecycle of an Update
When a client wants to spin up a new endpoint, the workflow is entirely decentralized:
- Token Generation: The user hits the KarlDNS UI (or API), which instantly provisions a completely randomized hostname slug (e.g., a1b2c3d4.karldns.de).
- Link Provisioning: The app hands back a trio of cryptographically secure bearer links: an update URL, a private management dashboard, and a registration link. No user accounts required.
- Router Handshake: The update URL is pasted into the router. Every time the WAN interface cycles, the router hits KarlDNS.
- Validation & Push: KarlDNS verifies the payload, updates its internal cache, and triggers a lightweight API push to the upstream provider (like Cloudflare or an RFC 2136 BIND server).
For FRITZ!Box and open-source routing platforms (OpenWrt, pfSense, OPNsense), KarlDNS structures a native, drop-in update query:
https://karldns.de/api/v1/router/update/<secret>?myip=<ipaddr>&myipv6=<ip6addr>The router dynamically swaps out and on the fly. KarlDNS parses the query strings and responds using lean, standard DynDNS-style string literals:
| HTTP Status / Response | Technical Meaning | Backend Action |
| good 203.0.113.10 | Successful Update | Upstream DNS updated; local cache committed. |
| nochg 203.0.113.10 | Redundant Request | IP hasn’t changed; execution skipped to save API quota. |
| badip | Validation Failure | String failed regex check; entry immediately dropped. |
| 911 dns publish failed | Upstream Outage | Cloudflare/BIND failed; local state preserved as “dirty”. |
Under the Hood: Choosing Practical Tech Over Hype
The technology stack behind KarlDNS is intentionally boring. In an era of over-engineered microservices, KarlDNS leans into rock-solid, single-binary efficiency.
Python FastAPI (The Asynchronous API Layer)
Python’s FastAPI acts as the structural backbone. It handles the web UI rendering, serves the fast public /api/v1 namespace, and natively outputs a public OpenAPI JSON spec. Because it’s fully asynchronous, it can handle thousands of incoming router check-ins simultaneously without blocking system threads.
SQLite in Production (WAL Mode for the Win)
Yes, we use SQLite in production. For a workload that is 95% reads (checking routes, verifying tokens) and 5% writes (updating an IP once a day), spinning up a separate database container is a waste of RAM.
By enabling Write-Ahead Logging (WAL), KarlDNS achieves concurrent reads and writes. Readers don’t block writers, and writers don’t block readers. The database is a single file (ddns.sqlite3), making system backups as simple as a standard cp or rsync command.
Dual-Engine DNS Backends
KarlDNS features a pluggable architecture that speaks two primary deployment languages:
- Cloudflare API: Best for public cloud setups where Cloudflare manages the edge.
- RFC 2136 standard: Best for true air-gapped homelabs or corporate intranets running local BIND, Knot, or PowerDNS daemons.
The Production Architecture Blueprint
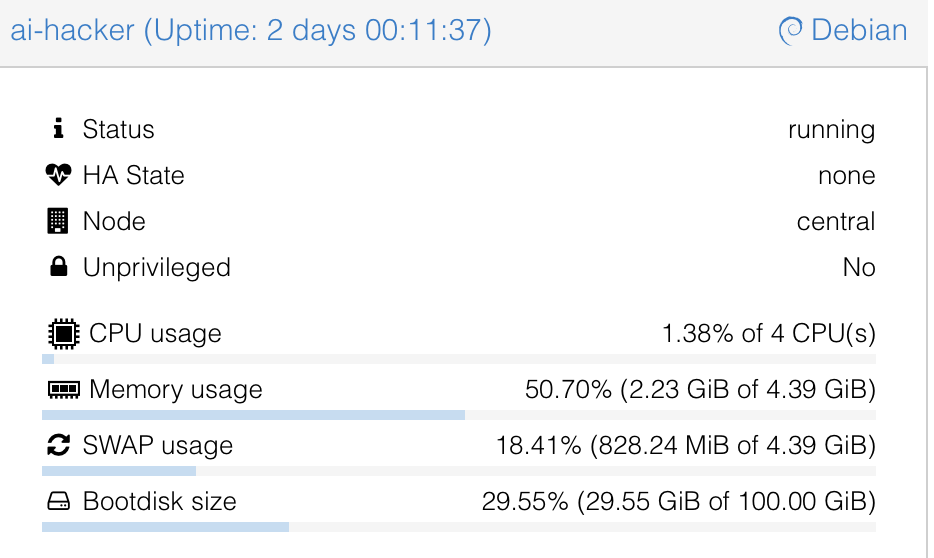
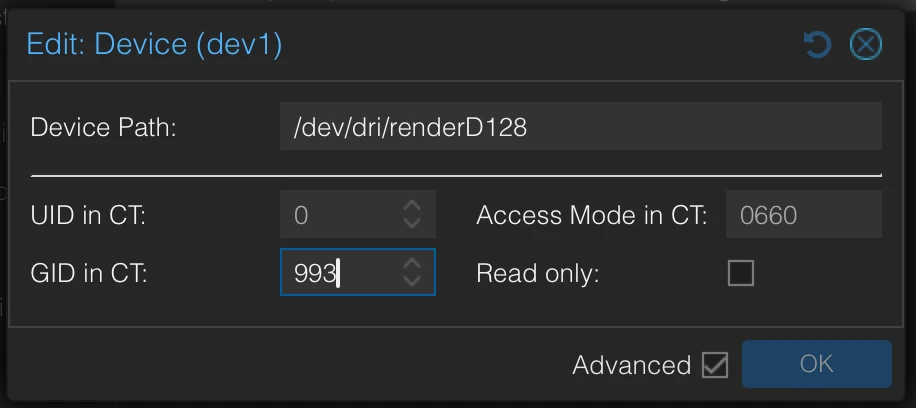
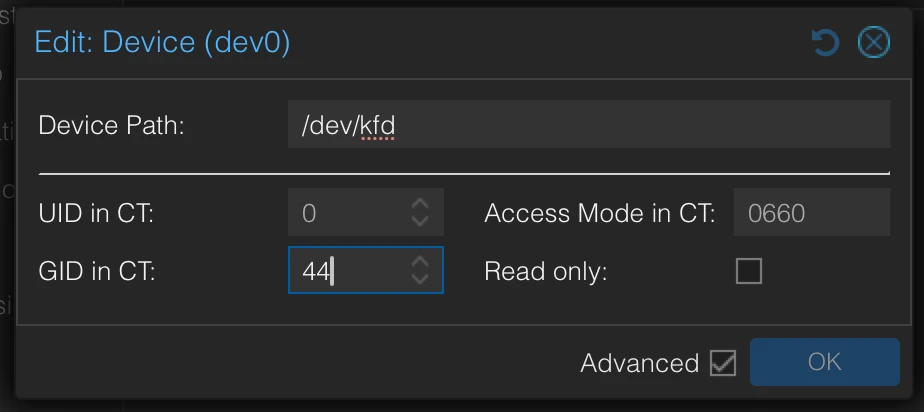
We don’t just write code; we run it. Our recommended production layout isolates the system components inside a lightweight virtualization stack to minimize overhead while keeping security tight.

The Actionable Deployment Playbook
For those running an Alpine Linux LXC environment on Proxmox, here is how you manage the service infrastructure cleanly using native OpenRC and Docker Compose tools.
Your standard operational stack lives under /opt/karldns. To spin up or update the setup, your terminal workflow is incredibly brief:
# Drop into your deployment environment
cd /opt/karldns

# Spin up the container stack in the background
docker compose up -d --build

# Verify container running state
docker compose ps

# Tail live application logs for debugging
docker compose logs -f karldns
For more Info on .env variables consult the README on Github.
If you are maintaining the system at the operating system layer via Alpine’s init system, you can control the Docker engine lifecycle directly without relying on heavy systemd components:
# Check runtime engine health
rc-service docker status

# Set the daemon to automatically start on hypervisor boot
rc-update add docker default
Because KarlDNS implements strict host header checking to prevent HTTP Host header injection attacks, internal health validation from inside your local area network requires a targeted header payload:
curl -H 'Host: karldns.de' http://127.0.0.1:8080/healthzOnce its up you get a really nice Admin UI

Security Engineering That Isn’t an Afterthought
We hate passwords. They get leaked, they get reused, and managing them forces you to build password reset flows, registration loops, and MFA handling. KarlDNS bypasses this attack surface entirely by relying strictly on cryptographically secure bearer tokens prefixed with karl_.
(That was a fancy way of saying: Passwords are “public” in the URL 😂)
Possession of the specific bearer token is authorization. To make sure these tokens remain locked down, the application enforces deep defensive logic:
- Lookup Hashes vs. Plaintext Slugs: The application never stores your dashboard URLs or tokens in plain text inside the database. They are converted into secure lookup hashes. If an attacker manages to download your ddns.sqlite3 file, they still cannot derive your private links.
- Timing Attack Mitigation: Admin endpoints use HTTP Basic Auth powered by constant-time string comparisons. This prevents malicious actors from guessing admin credentials based on subtle CPU clock differentials during string checking.
- Total Log Redaction: By setting DDNS_REDACT_ACCESS_LOGS=1, the web server strips all bearer keys out of your standard stdout logs, ensuring sensitive keys never leak into downstream log collectors like Grafana Loki or Filebeat.
- Fortified Security Headers: Out of the box, the system injects a comprehensive security header suite, explicitly serving:
- Content-Security-Policy (CSP) to prevent cross-site scripting.
- X-Robots-Tag: noindex, nofollow to prevent search engine spiders from scraping your endpoints.
- Cache-Control: no-store to prevent shared browsers from caching private token keys in history.
No Smart Router? No Problem. Enter the Cron Updater
If you are running a headless Linux server, a dedicated backup node, or a network-attached storage (NAS) appliance that lacks a custom DynDNS configuration UI, you aren’t left out. KarlDNS ships with a highly optimized shell updater utility.
To provision a brand new hostname and configure an automated system cron loop directly from your command line interface, run:
curl -fsSL https://karldns.de/install.sh | sudo shFor environments where you have already generated an orchestration token via the main web panel, you can anchor the installer directly to that pre-existing target endpoint:
curl -fsSL https://karldns.de/install.sh | sudo sh -s -- \
  --update-url 'https://karldns.de/api/v1/router/update/karl_secret_token' \
  --hostname 'home.karldns.de'
The client-side script is incredibly smart: it establishes a local lockfile to guarantee that multiple scheduled instances never collide, stores the last successfully broadcasted IP address locally, and will gracefully short-circuit its own execution unless a physical change in your WAN IP is detected.
What KarlDNS Is Not
Architectural discipline means knowing what not to build. KarlDNS is not a competitor to enterprise tools like OctoDNS, or ExternalDNS. It does not want to manage your broader corporate infrastructure DNS layers.
It does one thing: it provides a bulletproof, self-managed path for dynamic IP synchronization. It keeps its scope locked so its execution footprint stays exceptionally small and its security boundary stays completely clear.
If you are running a homelab, a small business network, a community infrastructure project, or just a friendly platform for your peers, KarlDNS gives you all the power of premium dynamic DNS without turning your infrastructure into someone else’s monetization strategy.
In short: this is not a DDNS Service, it is the DDNS Service provider. Free, open source, self hostable.
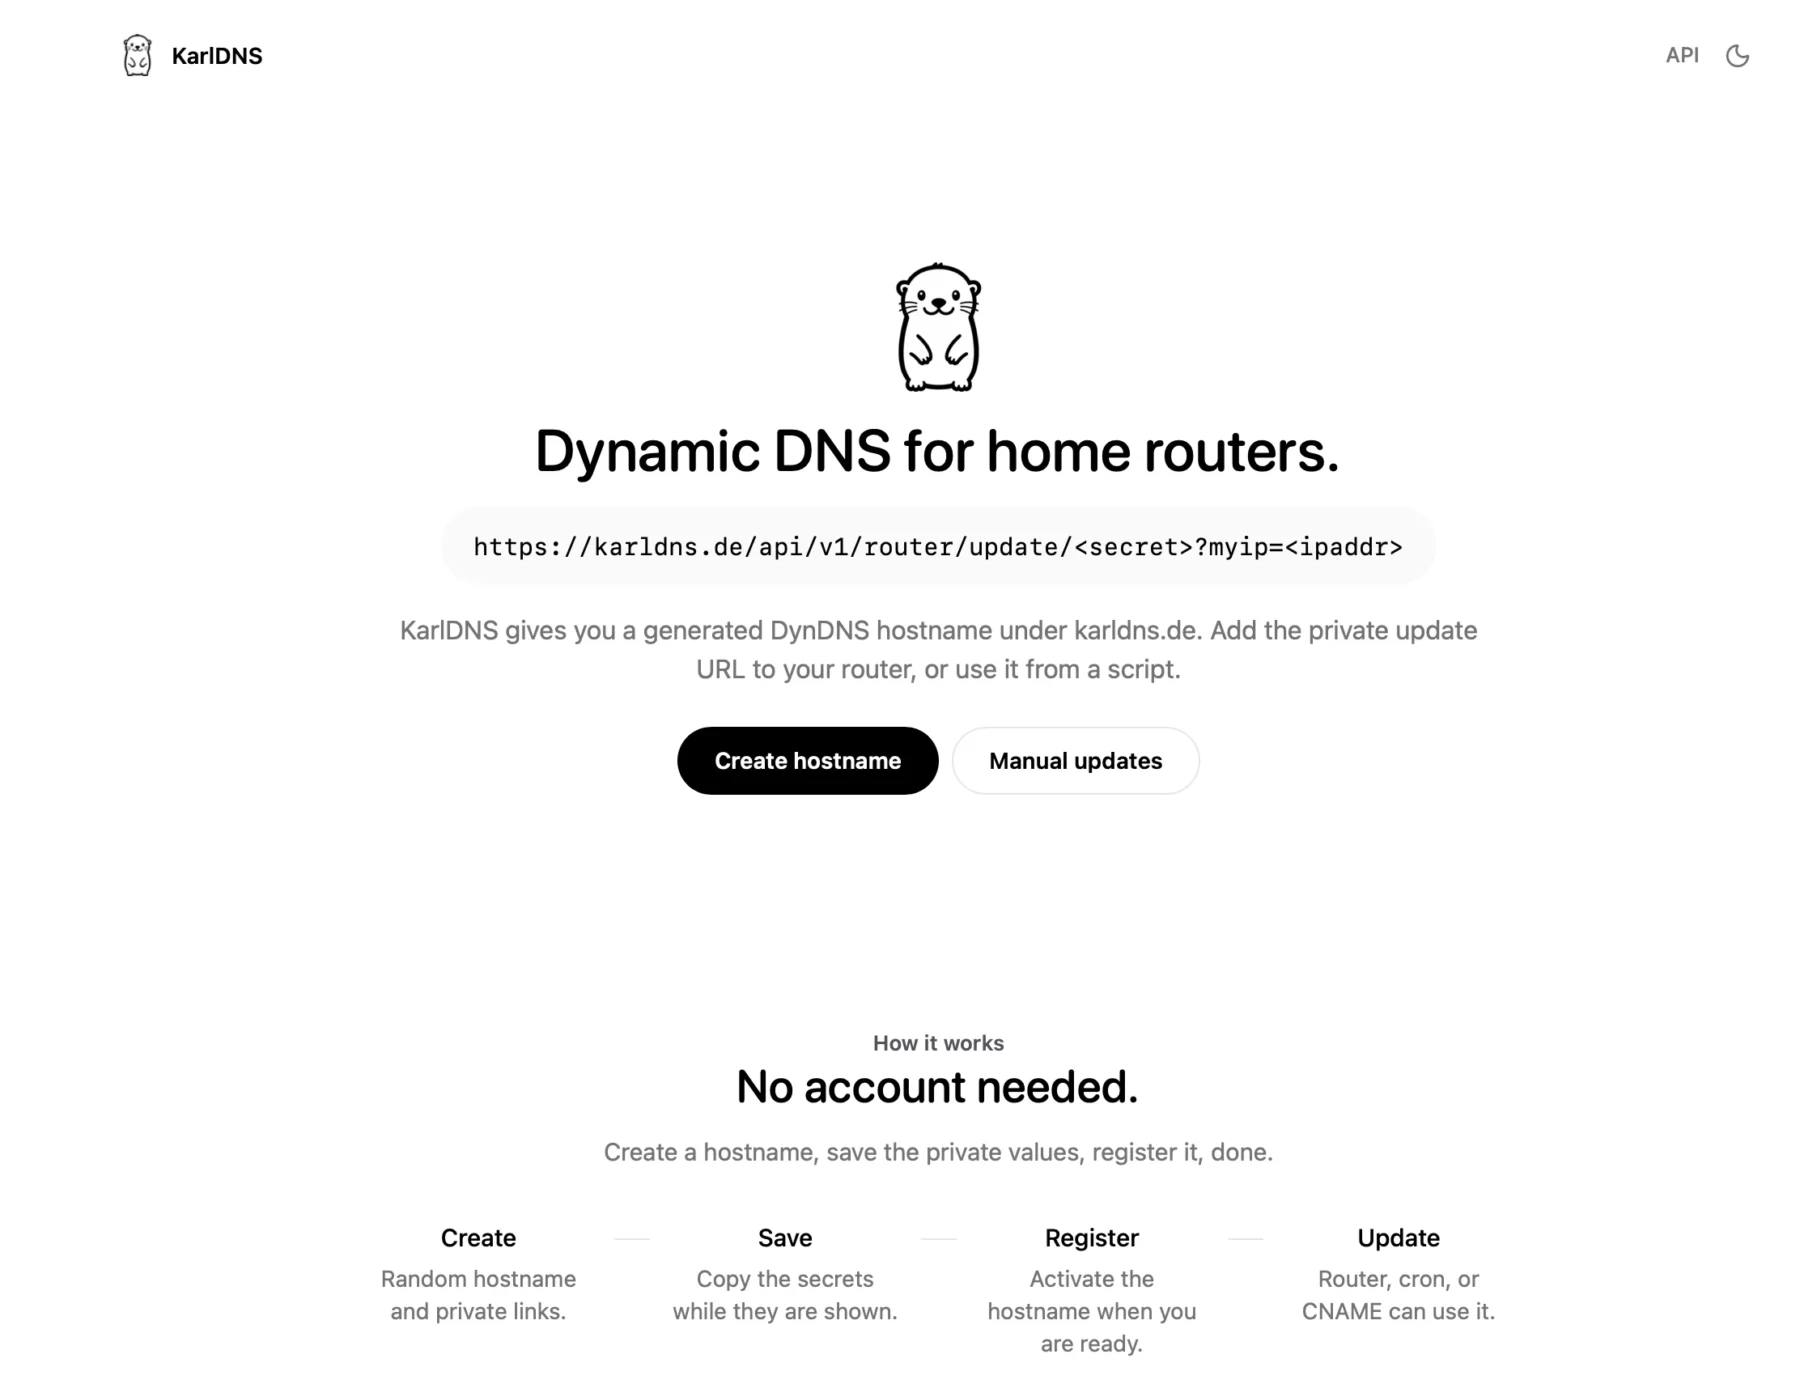
Demo
You can actually use my service right now at KarlDNS.de

You click on create and see this sort of dash, a subdomain is generated and pre-registered for you. The red values are secrets.

You just copy the “Update-URL” and add it to your Fritzbox DynDNS tab, you can just add any username and password, they don’t matter but Fritzbox insists.

In your secret dashboard you can see your current IPv4 and IPv6 Address and your update URL. You canals password protect this page as well and remove the subdomain if you want.

I am using Cloudflare as my backend so this is what it looks like for karldns in Cloudflare.
Summary
To be hontest with you, I simply built this to see if I could. If I ever get a million users I will slap ads on this bad boy and charge for something silly like vanity subdomains and totally sell out and act like I don’t know nobody (shoutout to RiffRaff – the Rapper).
Anyways we are at the end here, I am going on vacation for a few weeks and I hope I will see you again after, cutie pie 😚 Love you, byeeeeee