
Bearbot: Begins
This project spans over 3 years with countless iterations and weeks of coding. I wrote almost 500,000 lines of code in Python and Javascript. The essential idea was to use a shorting strategy on put/call options to generate income based on time decay – also called “Theta”. You kind of have to know a little bit about how stock options work to understand this next part, but here I go. About 80% of all options expire worthless; statistically, you have a way higher chance shorting options and making a profit than going long. The further the strike price is from the price of the underlying stock, the higher the probability of the option expiring worthless. Technically, you always make 100%.
Now back to reality, where things aren’t perfect.
A lot can happen in the market. If you put your life savings into a seemingly safe trade (with Stonkmarket actually +95% safe, more on that later) then the next Meta scandal gets published and the trade goes against you. When shorting, you can actually lose more than 100% (since stocks can virtually rise to infinity), but you can only gain 100%. It sounds like a bad deal, but again, you can gain 100% profit a lot more than infinite losses, although the chance is never 0. The trick is to use stop loss, but risk management is obviously part of it when you trade for a living.
DoD Scraper
The idea actually started as a simple idea to scrape the U.S. Department of Defense contracts to predict the earnings of large weapons companies and make large option trades based upon that.
Spoiler: It is not that easy. You can get lucky if the company is small enough and traded on the stock market, so it actually makes a huge impact on their financials. A company like Lockheed Martin is not really predictable by DoD contracts alone.
Back then I called it Wallabe and this was the logo:
More data
I didn’t know the idea was bad, so I soon started to scrape news. I collected over 100 RSS feeds, archiving them, analyzing them, and making them accessible via a REST API. Let me tell you, I got a lot of news. Some people sell this data, but honestly, it was a lot more worth to me in my database enriching my decision-making algo.
I guess it goes without saying that I was also collecting stock data including fundamental and earnings information; that is kind of the base for everything. Do you know how many useful metrics you can calculate with the data listed above alone? A lot. Some of them tell you the same stuff, true, but nonetheless, you can generate a lot.
Bearbot is born

Only works on dark mode, sorry.
As I was writing this into a PWA (website that acts as a mobile app), I was reading up on how to use option Greeks to calculate stock prices when realizing that it is a lot easier to predict and set up options trades. That is when I started to gather a whole bunch of options data and calculating my own Greeks which led me to explore more about theta and likelihood of options expiring worthless.
From that point on, I invested all the time asking the following question: What is the perfect environment for shorting Option XYZ?
The answer is generally quite simple:
- little volatility
- not a lot of news
- going with the general trend
- Delta “probability” is in your favor
You can really expand on these 3 points, and there are many ways to calculate and measure them, but that’s basically it. If you know a thing about trading, ask yourself this, what does the perfect time for a trade look like? Try to quantify it, should a stock have just gone down 20%, then released good news and something else? If yes, then what if you had a program to spot exactly these moments all over the stock market and alert you of those amazing chances to pretty much print money? That’s Bearbot.
Success
At the beginning, I actually planned on selling this and offering it as a service like all those other signal trading services or whatever, but honestly, why the hell would I give you something that sounds (and was) so amazing that I could practically print money? There is no value for me. Nobody is going to sell or offer you a trading strategy that works, unless it works by a lot of people knowing about it and doing it like candlestick patterns.
Failure
The day I started making a lot more money than with my regular job was the day I lost my mind. I stopped listening to Bearbot. I know it kind of sounds silly talking about it, but I thought none of my trades could go wrong and I didn’t need it anymore; I had developed some sort of gift for trading. I took on too much risk and took a loss so big saying the number would send shivers down your spine, unless you’re rich. Bearbot was right with the trade, but by not having enough to cover margin, I got a margin call and my position was closed. I got caught by a whipsaw (it was a Meta option and they had just announced a huge data leak).
”Learning” from my mistakes
In the real world, not everything has an API. I spent weeks reversing the platform I was trading to automate the bot entirely without having to do anything in hopes of removing the human error-prone element. The problem was that they did not want bot traders, so they did a lot to counter it, and every 2 weeks I had to adjust the bot or else get captchas or blocked directly. Eventually, it reached a very unstable point to where I could not use it for live trading anymore since I could not trust it in closing positions on time.
I was very sad at that point. Discouraged, I discontinued Bearbot for about a year.
Stonkmarket: Rising
Some time went on until a friend of mine encouraged me to try again.
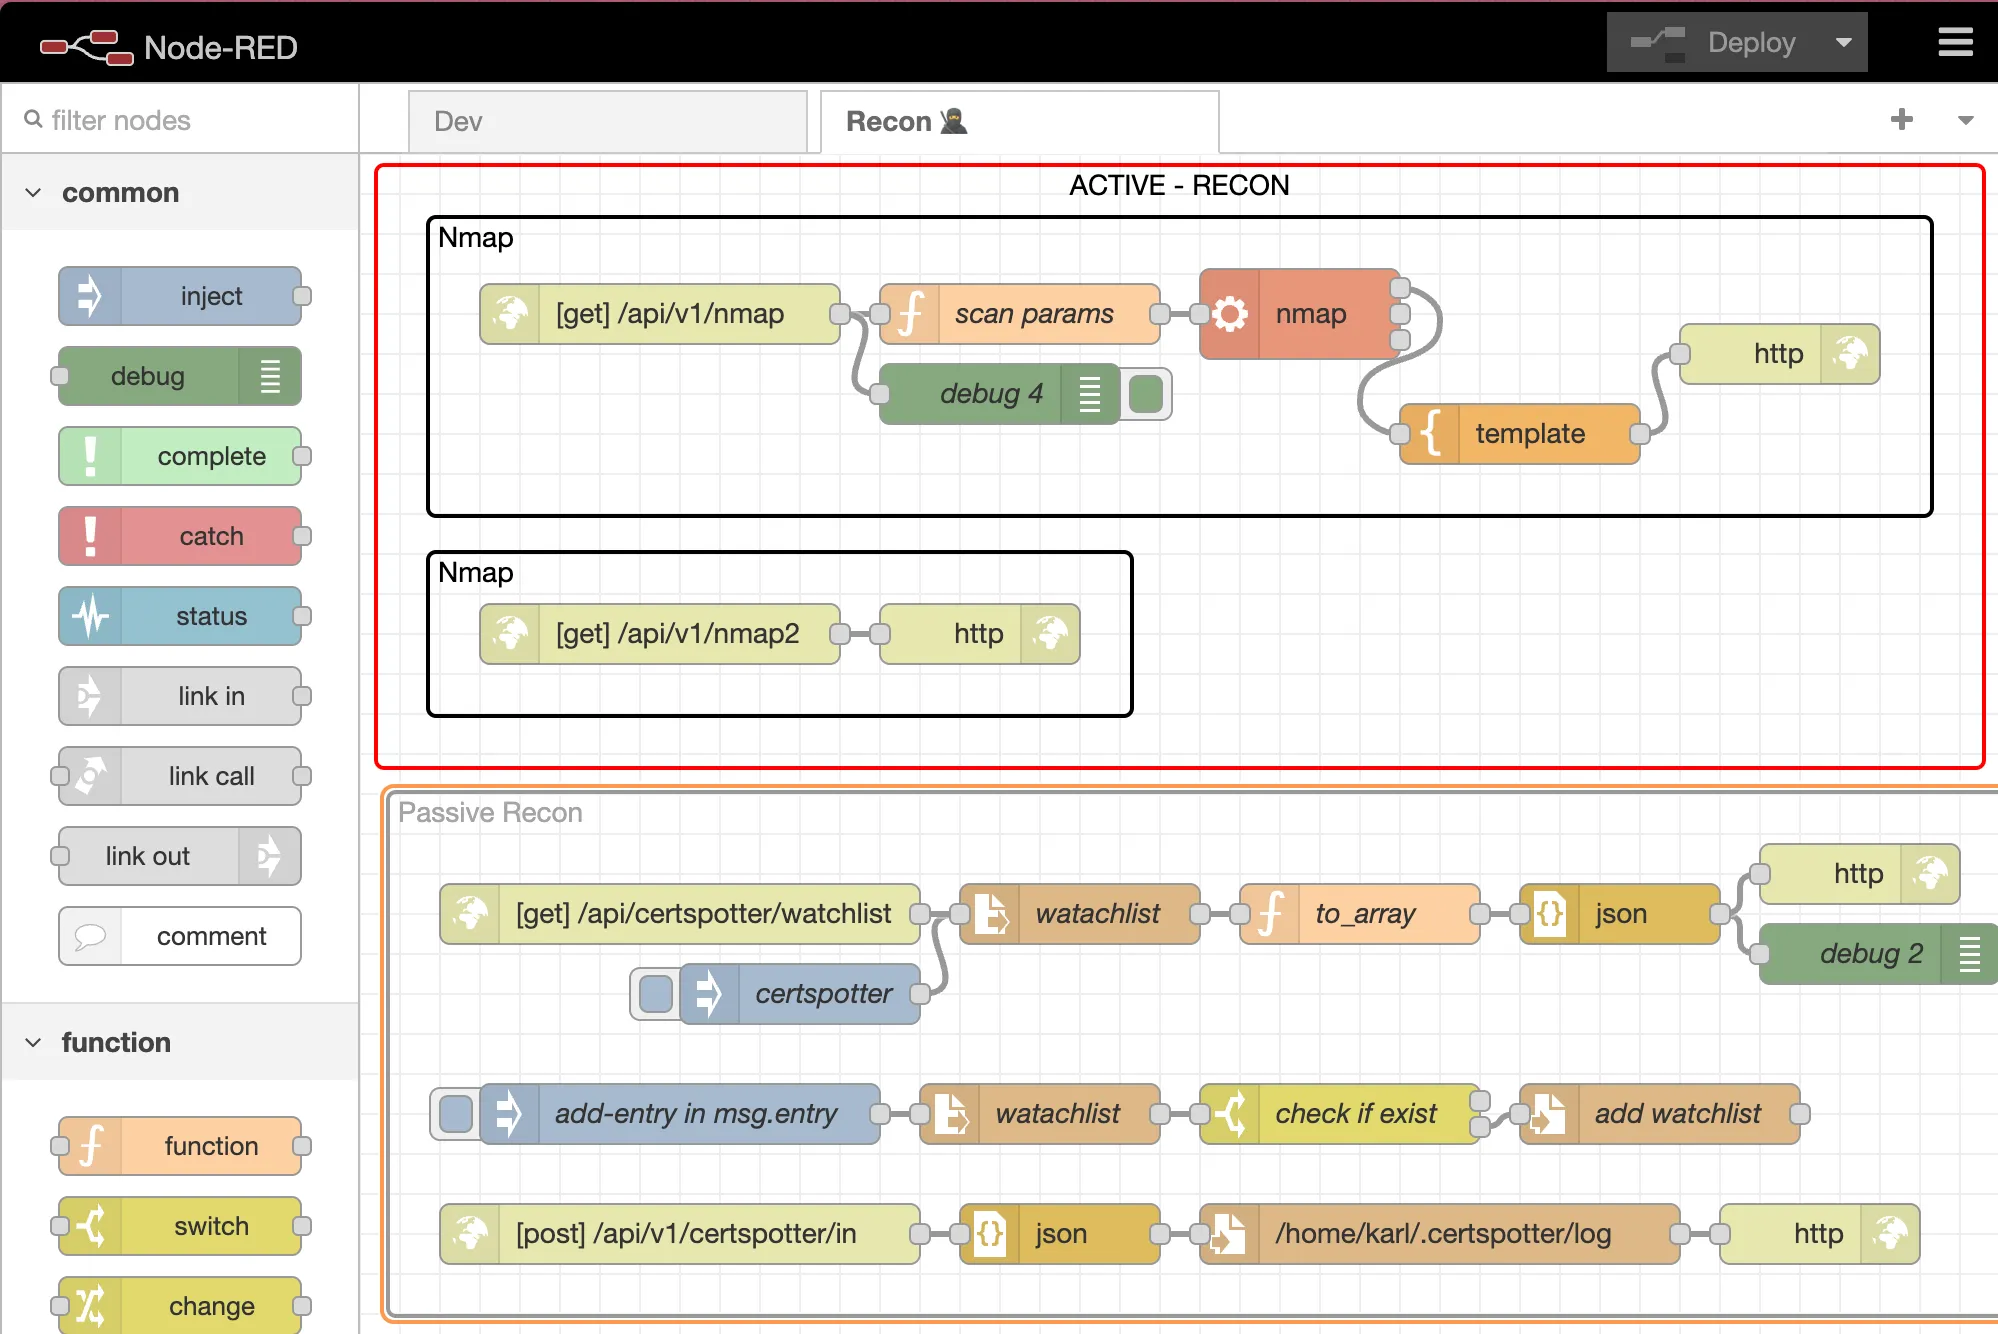
I decided to take a new approach. New architecture, new style, new name. I wanted to leave all the negative stuff behind. It had 4 parts:
- central API with a large database (Django Rest Framework)
- local scrapers (Python, Selenium)
- static React-based front end
- “Stonk, the Bot” a Discord bot for signals and monitoring

I extended the UI a lot showing all the data I have gathered but sadly I also shut down the entire backend before writing this so I cannot show it with data.
I spent about 3 months refactoring the old code, getting it to work, and putting it into a new structure. I then started trading again, and everything was well.
Final Straw
I was going through a very stressful phase, and on top of it, one scraper after the other was failing. It got to a point where I had to continuously change logic around and fix my data kraken, and I could not maintain it alone anymore. I also couldn’t let anyone in on it as I did not want to publish my code and open things up to reveal my secrets. It was at this point where I decided to shut it down for good. I poured 3 years, countless hours, lines of code, research, and even tears into this project. I learned more than on any other project ever.
Summary
On this project, I really mastered Django and Django Rest Framework, I experimented a lot with PWAs and React, pushing my web development knowledge. On top of that, I was making good money trading, but the stress and greed eventually got to me until I decided I was better off shutting it down. If you read this and know me, you probably know all about Bearbot and Stonkmarket, and maybe I have even given you a trade or 2 that you profited off of. Maybe one day I will open-source the code for this; that will be the day I am truly finished with Stonkmarket. For now, a small part inside myself is still thinking it is possible to redo it.
Edit: We are baaaaaaaccckkk!!!🎉
Better than ever, cooler than ever! You cannot beat this bear.