Introduction
In the realm of cybersecurity, automation is not just a convenience but a necessity. Having a tool that can effortlessly construct endpoints and interconnect various security tools can revolutionize your workflow. Today, I’m excited to introduce you to Node-RED, a powerhouse for such tasks.
This is part of a series of hacking tools automated with Node-RED.
Setup
While diving into the intricacies of setting up a Kali VM with Node-RED is beyond the scope of this blog post, I’ll offer some guidance to get you started.
Base OS
To begin, you’ll need a solid foundation, which is where Kali Linux comes into play. Whether you opt for a virtual machine setup or use it as the primary operating system for your Raspberry Pi, the choice is yours.
- Download Kali Linux: Get it here
Running Node-RED
Once you’ve got Kali Linux up and running, the next step is to install Node-RED directly onto your machine, NOT in a Docker container since you will ned root access to the host system. Follow the installation guide provided by the Node-RED team.
- Node-RED Installation: Guide here
To ensure seamless operation, I highly recommend configuring Node-RED to start automatically at boot. One effective method to achieve this is by utilizing PM2.
- Starting Node-RED at Boot with PM2: Instructions here
By following these steps, you’ll have Node-RED set up and ready to streamline your cybersecurity automation tasks.
Nmap as a Service
In this section, we’ll create a web service that executes Nmap scans, accessible via a URL like so: http://10.10.0.11:8080/api/v1/nmap?target=exploit.to (Note: Your IP, port, and target will differ).

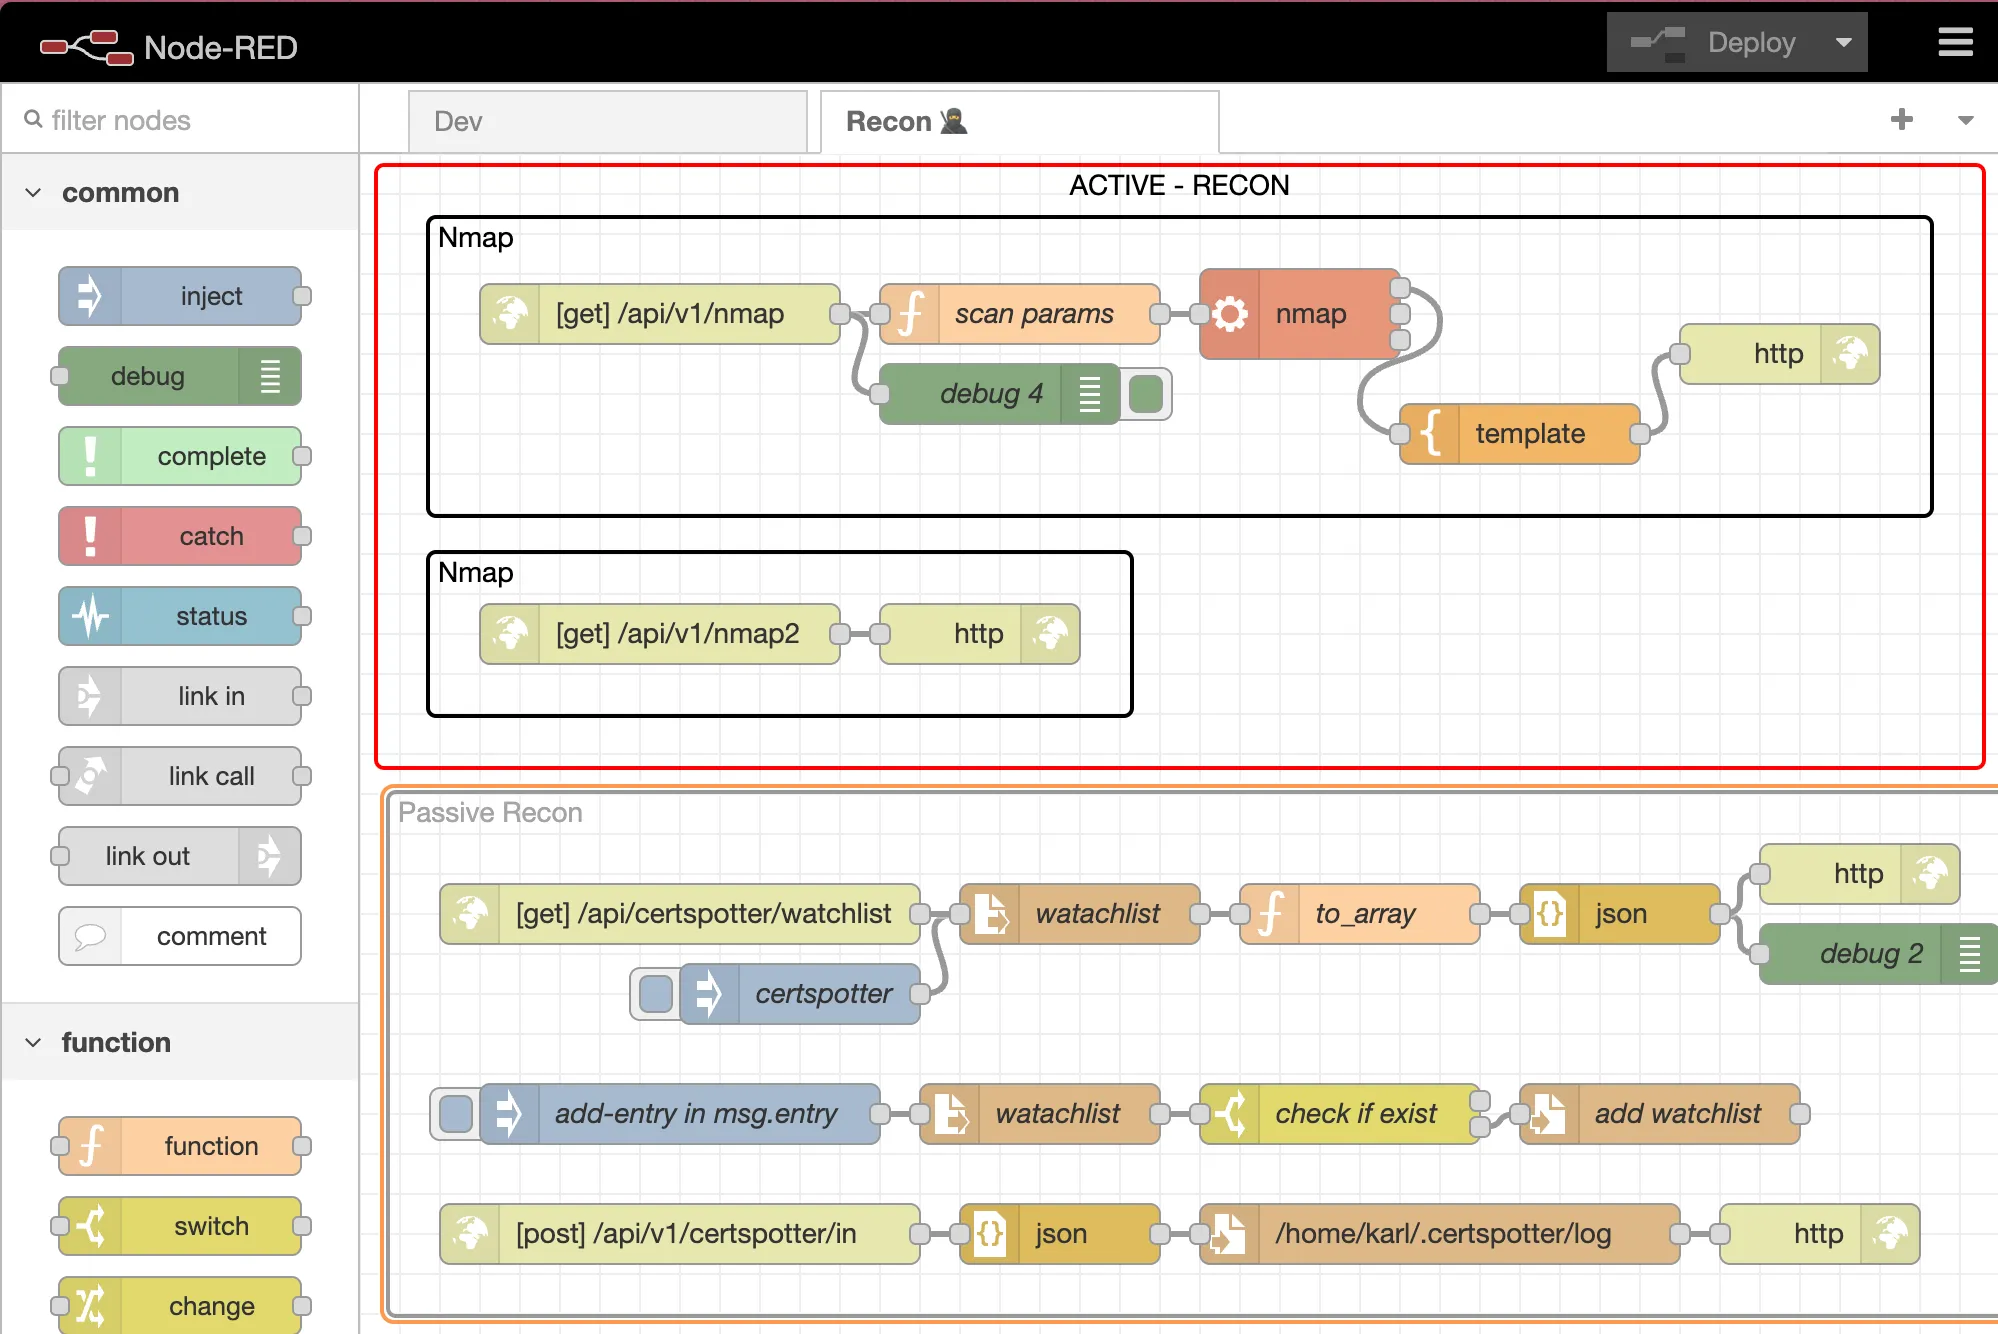
Building the Flow
To construct this service, we’ll need to assemble the following nodes:
- HTTP In
- Function
- Exec
- Template
- HTTP Response
That’s all it takes.
You can define any path you prefer for the HTTP In node. In my setup, it’s /api/v1/nmap.
The function node contains the following JavaScript code:
msg.scan_options = "-sS -Pn -T3";
msg.scan_target = msg.payload.target;

msg.payload = msg.scan_options + " " + msg.scan_target;
return msg;
It’s worth noting that this scan needs to be run as a root user due to the -sS flag (learn more here). The msg.payload.target parameter holds the ?target= value. While in production, it’s crucial to filter and validate input (e.g., domain or IP), for local testing, it suffices.
The Exec node is straightforward:

It simply executes Nmap and appends the msg.payload from the previous function node. So, in this example, it results in:
nmap -sS -Pn -T3 exploit.toThe Template node formats the result for web display using Mustache syntax:
<pre>
{{payload}}
</pre>
Finally, the HTTP Response node sends the raw Nmap output back to the browser. It’s important to note that this setup isn’t suitable for extensive Nmap scans that take a while, as the browser may timeout while waiting for the response to load.
You now have a basic Nmap as a Service.
TODO
You can go anywhere from here, but I would suggest:
- add validation to the endpoint
- add features to supply custom nmap flags
- stream result to browser via websocket
- save output to database or file and poll another endpoint to check if done
- format output for web (either greppable nmap or xml)
- ChatOps (Discord, Telegram bot)
Edit 1:
I ended up adding validation for domain and IPv4. I also modified the target variable. It is now msg.target vs. msg.payload.target.
function validateDomain(domain) {
  var domainRegex = /^(?!:<strong>\/\/</strong>)([a-zA-Z0-9-]+<strong>\.</strong>)+[a-zA-Z]{2,}$/;
  return domainRegex.test(domain);
}

function validateIPv4(ipv4) {
  var ipv4Regex =
    /^(25[0-5]|2[0-4][0-9]|[01]?[0-9][0-9]?)<strong>\.</strong>(25[0-5]|2[0-4][0-9]|[01]?[0-9][0-9]?)<strong>\.</strong>(25[0-5]|2[0-4][0-9]|[01]?[0-9][0-9]?)<strong>\.</strong>(25[0-5]|2[0-4][0-9]|[01]?[0-9][0-9]?)$/;
  return ipv4Regex.test(ipv4);
}

if (validateDomain(msg.payload.target) || validateIPv4(msg.payload.target)) {
  msg.passed = true;
  msg.target = msg.payload.target;
  return msg;
}

msg.passed = false;
return msg;
The flow now looks like this, and checks the msg.passed. If it is false then it returns a HTTP 400 Bad Request, else it starts the Nmap scan.
